
Last year, shortly after building my first 3D printer, I came across a tweet from Printrbot about an opportunity to test a new printer called the Printrbot Simple. The Simple was particularly attractive because it was small enough to be portable and it was only $250 for complete a beta tester kit.
Looking for #printrbot_simple beta testers w/ photo & video skills. It won’t be free, but you will be first. Watch for sign up at Printrbot
— Printrbot (@printrbot) April 26, 2013
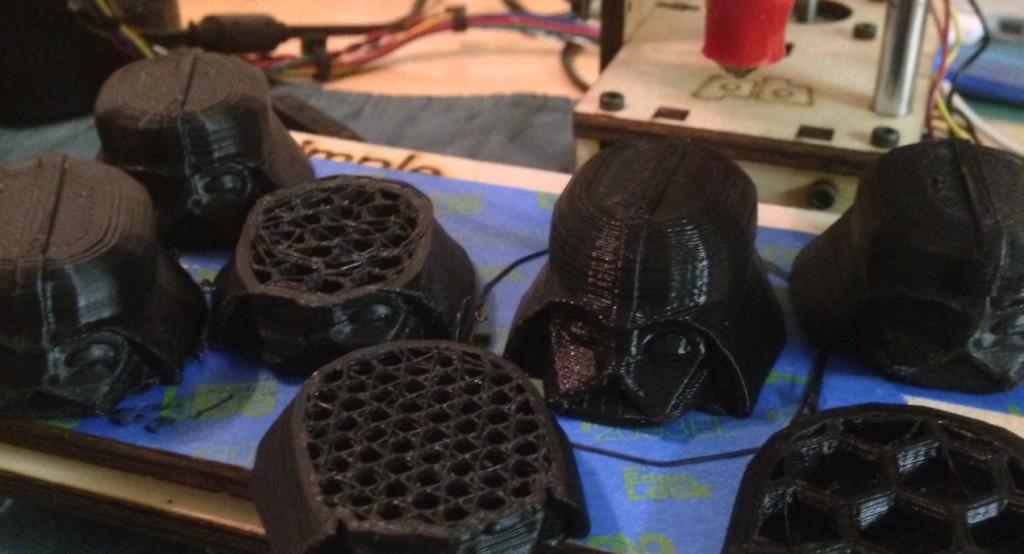
The build process is seen in the images below and was fairly straghtforward with one exception: it was rather difficult to get the flexible tubing onto the z-axis threaded rod. The Simple worked decently, although the y-axis started to sag as time went on and the flexible tubing on the y-axis motor compressed which led to drift during prints. Ultimately, the Simple was disassembled and its parts were reused to create the 3DR Simple Delta!
One quick aside before getting to the pictures below. If you’re reading this because you’re building or commissioning your own Printrbot Simple Beta, I recommend taking a look at Zheng’s great ‘Calibrating the Printrbot Simple’ post.


The time lapse video below demonstrates a sample print on the Printrbot Simple Beta v1.

Pingback: House of Engineering Funk – Building the 3DR Simple Delta